Are you tired of feeling overwhelmed by your backlog and deadlines? Do you want to improve communication and alignment among your team? Look no further! A User Story Mapping Workshop is the perfect solution. Not only will it help identify problem areas, but it’s also easy to teach and can be introduced with a simple game.
In just 30 minutes, your team will learn how to use this powerful technique to make the most of their time and effort. Don’t let fear of the unknown hold you back – give User Story Mapping a try and watch your team thrive!

Teaching User Story Mapping to your team can seem a little daunting to newbies when you first pull up a full FeatureMap. Luckily, User Story Mapping is easy to teach, and I have a great simple exercise to walk your team through as an introduction.
The technique is innately simple and can be taught with one simple game (because if we say game instead of exercise, it sounds better, right?).
I have some exciting and engaging 30-minute games that you can use in your teaching workshop or as a starting point for a User Story Session. These games will not only help your team develop a better understanding of User Story Mapping, but they’ll also have fun and build team cohesion along the way. So why wait? Add some fun and learning to your next workshop and watch your team thrive!
How to conduct a User Story Mapping session and teach!

Running a user story mapping session is fairly straight-forward and you can get sorted quickly.
Here is an easy set of instructions broken into 8 steps:
- Begin by explaining the concept of User Story Mapping and its importance in the product development process.
- Provide an overview of the steps involved in conducting a User Story Mapping session, including how to identify user needs and create a shared understanding of the product vision among team members.
- Divide the participants into small teams and give each team a scenario, such as developing a new mobile app or a website for a small business.
- Ask each team to brainstorm and identify the different user needs and goals that the product should address.
- Have the teams create a rough draft of their User Story Map, using sticky notes or a whiteboard to organize the user stories into columns representing the different phases of the product development process (e.g. planning, development, testing, etc.).
- Ask each team to present their User Story Map to the group, explaining their reasoning behind the organization and placement of the user stories on the map.
- Facilitate a group discussion to identify common themes and areas for improvement in the different teams’ User Story Maps.
- Conclude the exercise by summarizing the key takeaways and reinforcing the importance of conducting User Story Mapping sessions as part of the product development process.
By participating in this exercise, team members will gain hands-on experience in conducting a User Story Mapping session and will learn how to use this tool to create a shared understanding of the product vision among their team.
Get to Work!
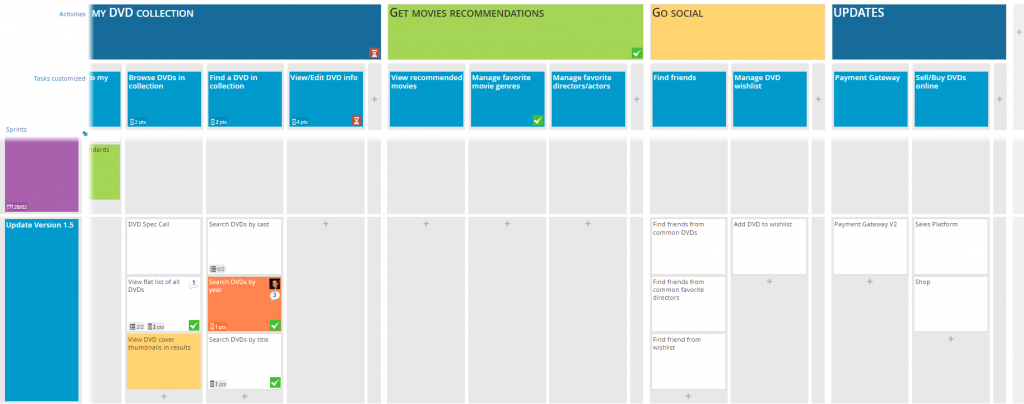
One of the easiest and well known games is the “Get to work” or “Wake up in the morning” tasks.
You write out on your map what you do each morning. This can be broken down to the most mundane steps.
I once had a team member write out everything they did which included an impressive rising time of 4am and 3 hours of morning preperation. I have since added to the challenge that they only have 20 minutes to get up and to get out the door to get to work.
What you can do is expand the task to reduce the time available, and to extend the time available to experience with what they add and cut aka minimal viable product! 😉
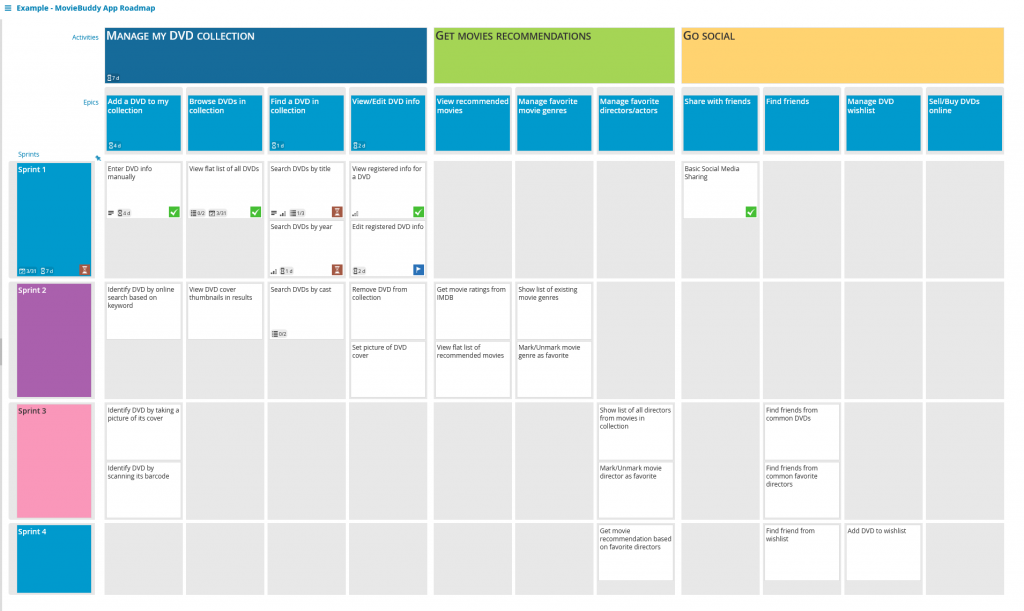
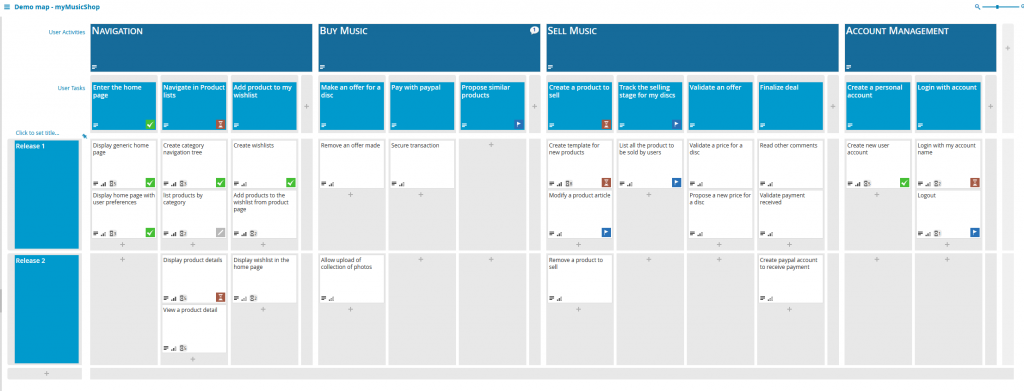
We have a map here of an example of our “Get to work”
The Jigsaw Piece Game

Another game that can be used to introduce the concept of User Story Mapping without the need for cards is called “User Story Jigsaw.” This game involves dividing the participants into small teams and giving each team a set of user stories that are related to a specific product or project. The teams must then work together to organize the user stories into a logical sequence that represents the product development process.
To play the game, first, create a set of user stories that are related to a specific product or project. These user stories should be based on the real-life challenges and needs of the team or organization.
Next, divide the participants into small teams and give each team a set of user stories. The teams should then work together to organize the user stories into a User Story Map, using sticky notes or a whiteboard to create columns representing the different phases of the product development process.
The teams should then place the user stories onto the map, trying to create a logical sequence that represents the flow of the product development process. The team with the most effective User Story Map wins the game.
After playing the game, the teams can discuss their User Story Maps and compare them to see how they differ and what they can learn from each other. This discussion can help the participants gain a better understanding of the concept of User Story Mapping and how it can be applied in their own work.
Tic Tac Toe Game

another game that can be used to introduce the concept of User Story Mapping is called “User Story Tic-Tac-Toe.” This game involves creating a grid with different user stories written in each square, and then having the participants take turns placing their “X” or “O” on the grid to organize the user stories into a logical sequence that represents the product development process. The objective is to create a User Story Map that covers as many squares on the grid as possible, with the winner being the team that creates the most effective User Story Map.
To play the game, first, create a grid with different user stories written in each square. These user stories should be based on a specific product or project that the team is working on.
Next, divide the participants into two teams and give each team a set of “X” and “O” markers. To begin the game, one team should place their “X” on the grid, choosing a user story from one of the squares. The other team should then place their “O” on the grid, choosing a user story that is related to the first user story.
The teams should continue taking turns placing their markers on the grid, trying to create a User Story Map that covers as many squares as possible. The team with the most effective User Story Map wins the game.
After playing the game, the teams can discuss their User Story Maps and compare them to see how they differ and what they can learn from each other. This discussion can help the participants gain a better understanding of the concept of User Story Mapping and how it can be applied in their own work.
Final Tips for your Workshop Games
Using games and exercises to teach any product or methodology will be met with variation. Be aware of your audience, what will work and tailor your tutorials to fit them.
Some important tips for running these games.
- Clearly explain the objective and rules of the game at the beginning to ensure that all participants understand what is expected of them.
- Encourage collaboration and teamwork among the participants, allowing everyone to contribute their ideas and perspectives to the User Story Map. Try to discourage any“leader” roles who make all the decisions, let the entire team contribute.
- Provide guidance and support to the teams as needed, helping them to understand the concept of User Story Mapping and how to apply it to their own work.
- Focus on keeping time for each exercise to be utilised well, we often recommend under 60 minutes.
- Use a variety of tools and materials, such as sticky notes, whiteboards, and digital tools, to allow the teams to create and organize their User Story Maps in the way that works best for them.
- Debrief after the game to discuss the teams’ experiences and what they learned from the exercise. This can help reinforce the key takeaways and provide additional insights and guidance for applying User Story Mapping in the future.
- Consider providing additional resources and support for teams that want to continue learning and practicing User Story Mapping after the game or exercise is over. This could include access to online tutorials, workshops, and other learning materials.
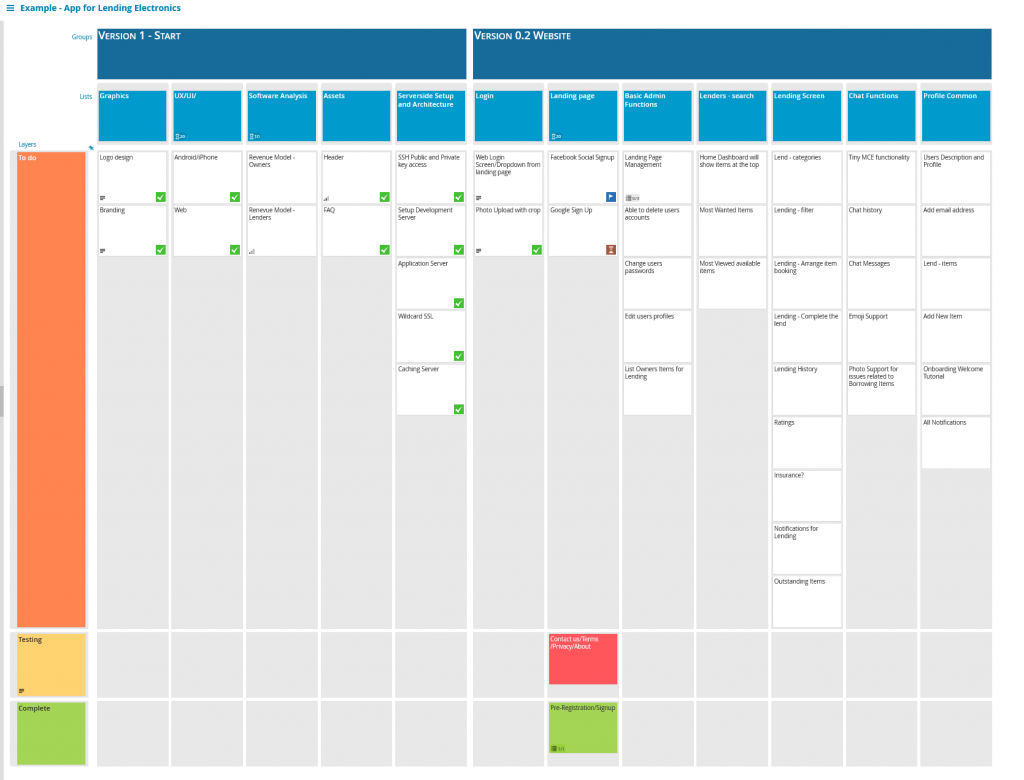
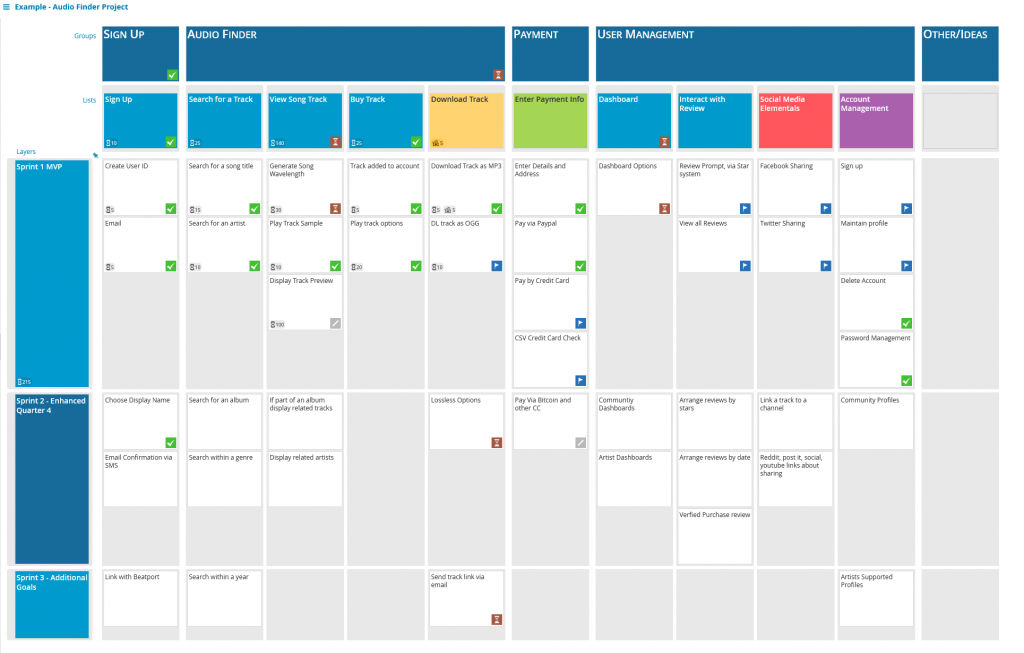
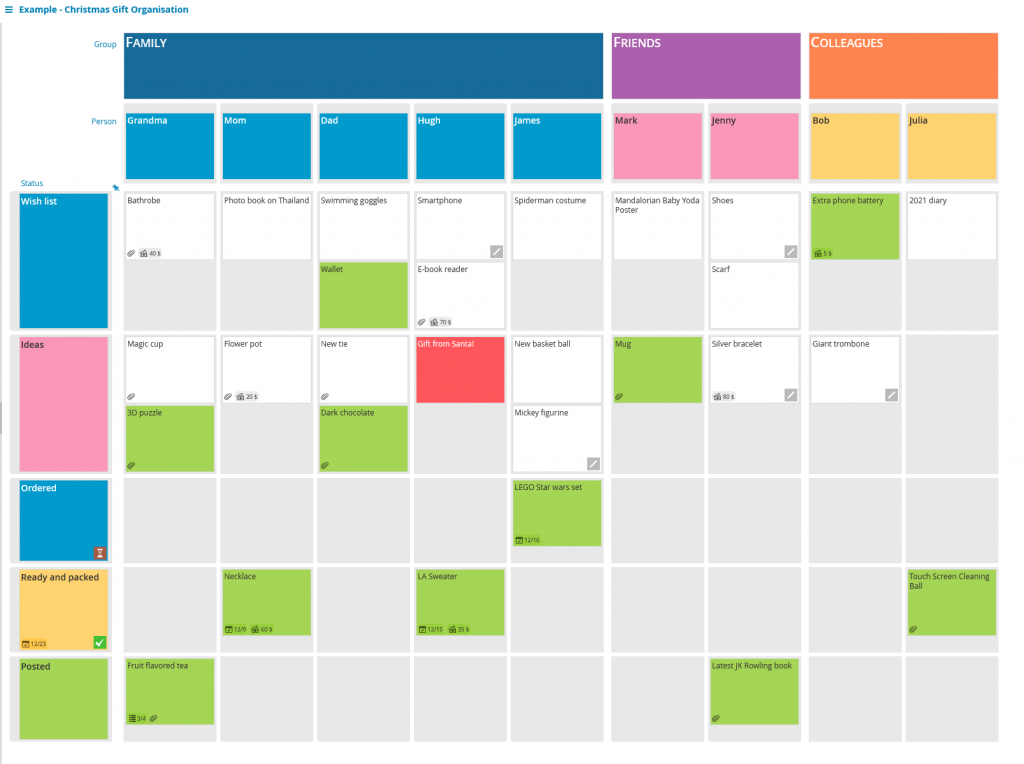
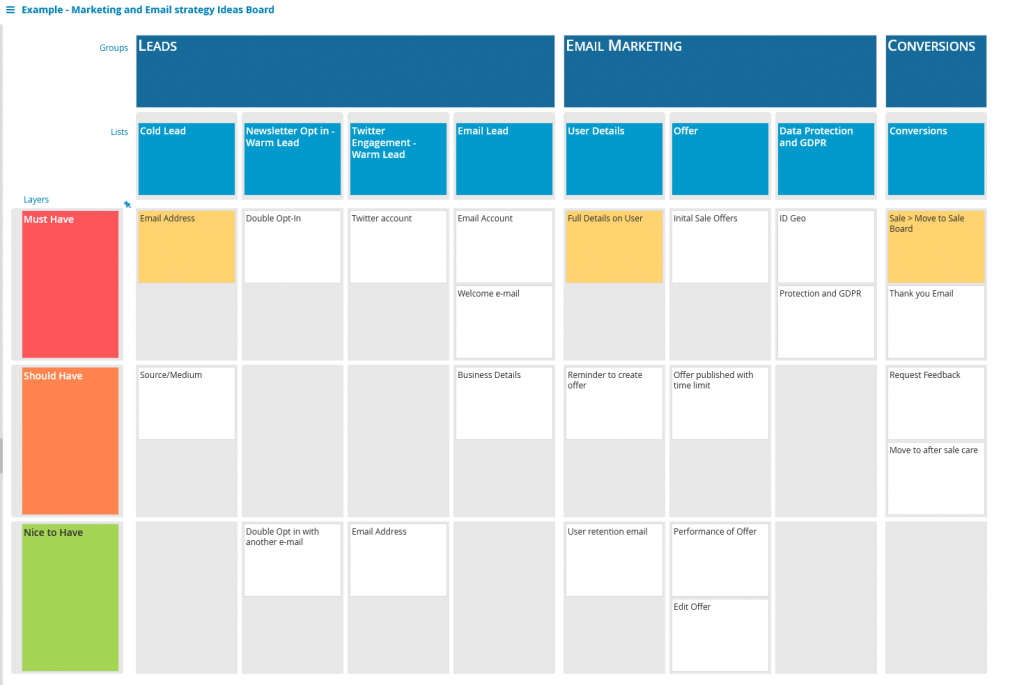
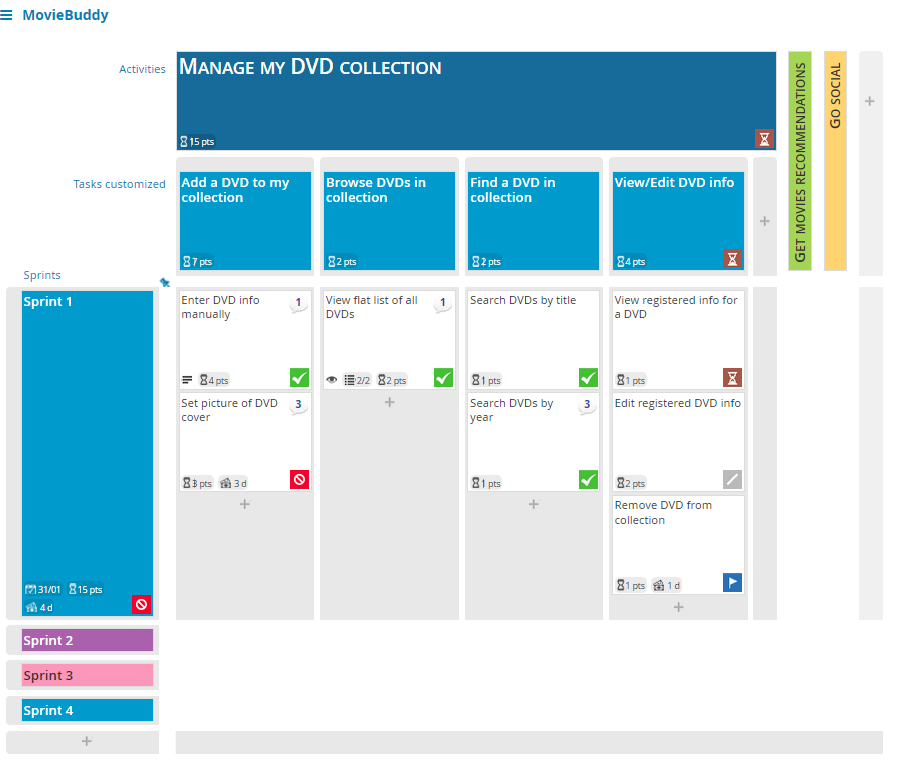
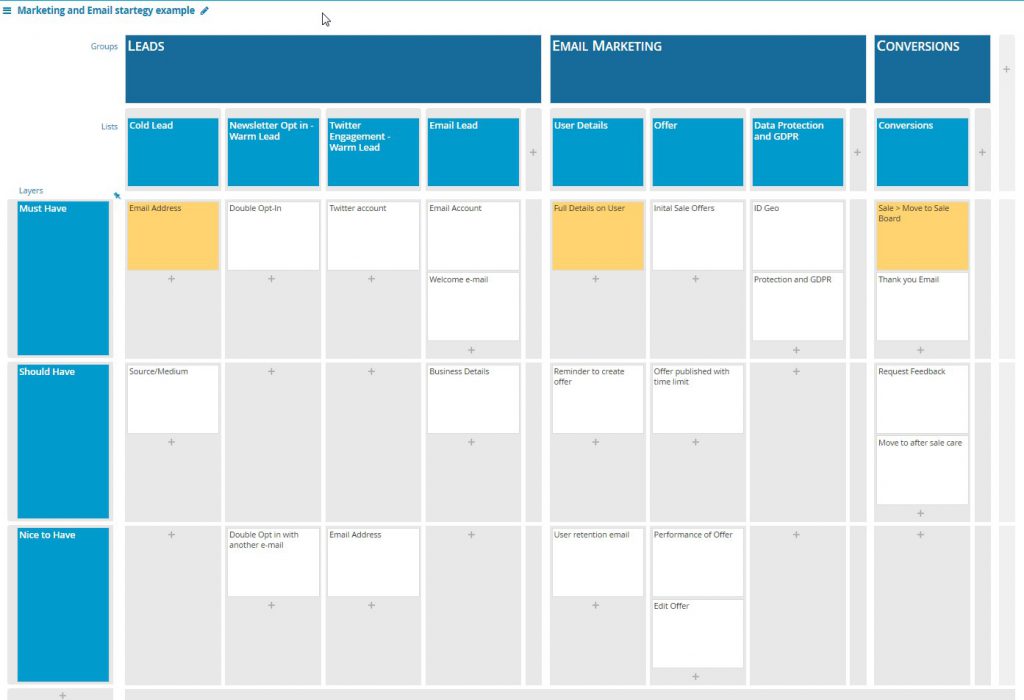
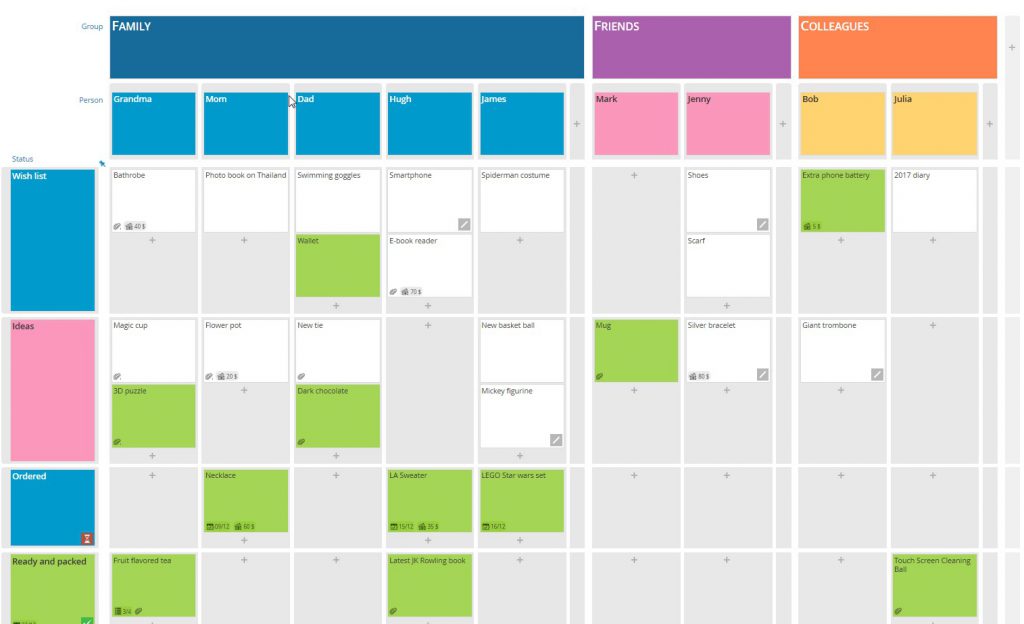
User Story Mapping is innately simple, with a huge range of depth that can be demonstrated in deep and powerful maps. If you need more assistance or ideas, check out how some of our templates to inspire.

Good Luck!